If you’re diving into music production and working with sample packs, you may have encountered pitch shifting and time stretching. These tools are essential for customizing samples, creating unique sounds, and making your tracks feel more cohesive. As a Drum and Bass DJ and producer, I rely on these techniques to craft dynamic, original music. In this guide, I’ll walk you through the basics of pitch shifting and time stretching, sharing tips to help you use them creatively in your projects.
Why pitch shifting and time stretching matter
Pitch shifting and time stretching are like magic tricks for producers. They allow you to change the pitch and duration of a sample independently, giving you creative control over the sound without altering its original tone or rhythm. These techniques can make a sample fit seamlessly into your track, and they can also lead to surprising results when used creatively.
Mastering these tools can open up endless possibilities, from harmonizing with existing sounds to crafting rhythmic textures and effects. Whether you’re new to these techniques or want to take your skills further, learning the basics of editing samples across various DAWs is a great way to get started.
Step 1: Understanding pitch shifting and how to use it
Pitch shifting adjusts the pitch of a sample without changing its length. It’s helpful for matching a sample to your track’s key, creating harmonies, or transforming sounds for unique textures.
- Pitch matching samples to your track: If you’re using a sample that’s slightly off-key, pitch shifting can help. Identify the key of your track and adjust the sample’s pitch to match. Many DAWs have tools for detecting a sample’s pitch, making it easier to align sounds harmoniously.
- Creating harmonies with pitch shifting: Pitch shifting isn’t just for correcting notes; you can use it creatively by duplicating a sample and shifting the pitch up or down a few semitones. This layering technique is especially useful for building harmonies or adding depth to synths and vocals. Layering techniques for richer sounds can also help you build up textures when combining different pitches.
- Exploring octave shifts for dramatic effect: Shifting a sample up or down by an octave can have a powerful effect on its character. Moving a sample down an octave makes it deeper and more resonant, while moving it up an octave creates a lighter, ethereal feel. Try octave shifts on basslines, leads, or vocal samples to give them a unique twist.
Step 2: Getting to know time stretching
Time stretching lets you adjust the length of a sample without changing its pitch, which is particularly useful for syncing samples to your project’s tempo. This technique keeps your samples in rhythm while allowing for creative manipulation.
- Stretching samples to fit your tempo: When a sample’s BPM (beats per minute) doesn’t match your project’s tempo, time stretching can adjust its length to fit perfectly. Simply stretch the sample to align with your track’s grid. This technique is essential for Drum and Bass and other genres that rely on tight rhythms.
- Creating unique rhythms with extreme time stretching: Pushing time stretching to its limits can yield interesting textures. Try slowing down or speeding up samples drastically to create new rhythmic patterns or atmospheric effects. Some DAWs let you stretch sounds to the point where they become ambient drones or glitchy textures.
- Syncing vocal and melodic samples: If you’re incorporating vocal or melodic samples, time stretching can help keep them in sync with the beat. Slowing a vocal down can make it sound more emotional or introspective, while speeding it up can create a high-energy feel. Experiment with different stretching levels to match the mood of your track.
Step 3: Combining pitch shifting and time stretching for creativity
When used together, pitch shifting and time stretching unlock even more possibilities, allowing you to reshape sounds in surprising ways.
- Experimenting with resampling: Try pitch shifting and time stretching a sample, then re-sampling it as a new audio file. This way, you can layer the original sample with its manipulated version to create a richer, more complex sound.
- Creating unique sound effects: Combining pitch shifting and time stretching can yield effects that don’t sound like the original sample at all. For instance, pitch shift a vocal sample up and then stretch it to create a ghostly effect. Or take a bass sound, stretch it, and pitch it down to create a deep, atmospheric pad.
- Crafting transitions and builds: Using these techniques on drum or FX samples can help create exciting transitions or build-ups in your track. For example, gradually pitch up and time-stretch a snare roll to build anticipation before a drop. Building energy with transitional effects can further enhance the flow of your track, adding dynamics and drama.
Step 4: Essential tools for pitch shifting and time stretching in DAWs
Most DAWs come equipped with tools for pitch shifting and time stretching, but each one has its own workflow and features.
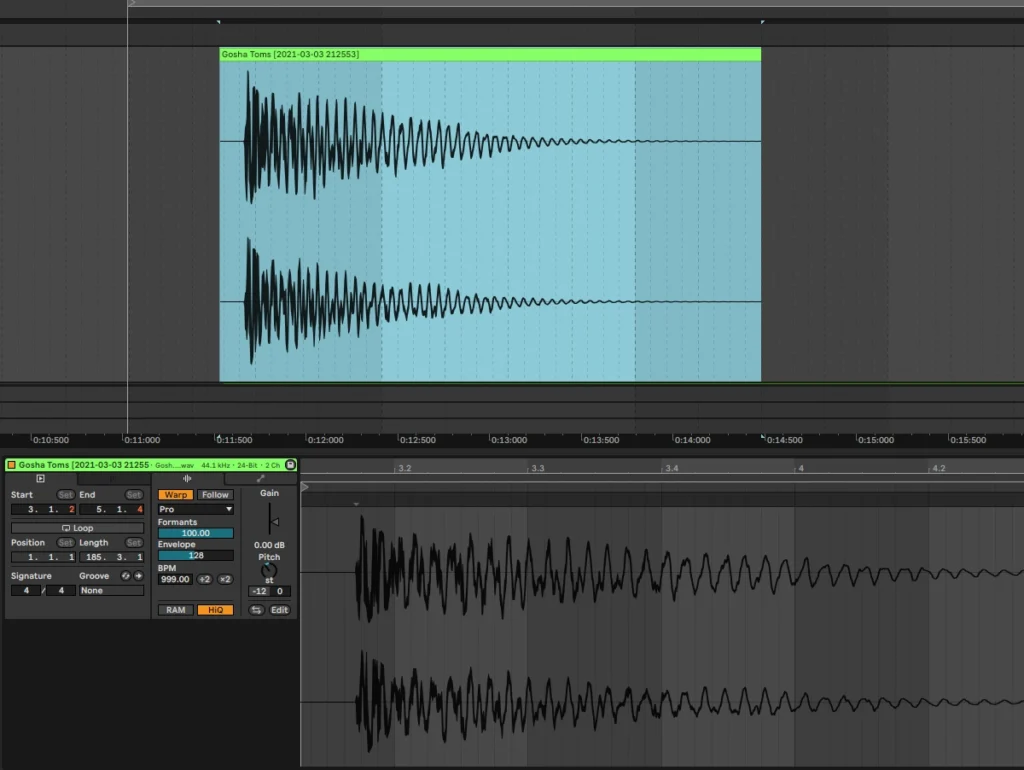
- Ableton Live: Ableton Live offers the “Warp” function, which is one of the most versatile time-stretching tools out there. You can stretch samples to extreme levels without losing quality, and its “Complex Pro” mode is particularly useful for vocal samples.
- FL Studio: FL Studio’s Pitch Shifter and Time Stretching controls are easy to use and give you a lot of flexibility. The “Newtime” tool is also excellent for more detailed stretching adjustments, allowing you to manipulate individual transients within a sample.
- Logic Pro: In Logic Pro, the Flex Time feature allows for time stretching, while Flex Pitch lets you control pitch adjustments. You can use these tools together to edit timing and pitch fluidly, ideal for both correction and creative transformations.
Step 5: Using automation to improve pitch shifting and time stretching
Automation brings pitch shifting and time stretching to life, allowing you to add movement and dynamics.
- Pitch automation for Vocal FX: Adding pitch automation to vocal samples can create interesting effects. Try shifting the pitch gradually over time to create a sense of progression, or add slight pitch modulations to make the vocal sound more expressive.
- Tempo automation for build-ups: Adjusting the tempo with time-stretched samples is a great way to create tension. For example, slowing down the tempo slightly before a drop can heighten anticipation, making the drop feel more impactful.
- Dynamic time stretching for textures: Use automation to adjust the stretch amount over time. Stretch a sample as it plays out to create a gradual, evolving sound that can add a unique layer to your track. This technique works well with ambient textures or atmospheric pads.
Pitch shifting and time stretching are powerful tools that allow you to explore new creative possibilities and shape your samples in ways that go beyond their original form. Whether you’re using these techniques to match samples to your track’s key, create harmonies, or craft original sound effects, mastering pitch and time manipulation will add depth and flexibility to your production skills.
If you’re just getting started with these techniques, take time to experiment and see how they can fit into your workflow.